In this tutorial i am gona explain how i made this taq,

To see the larger image click on them.
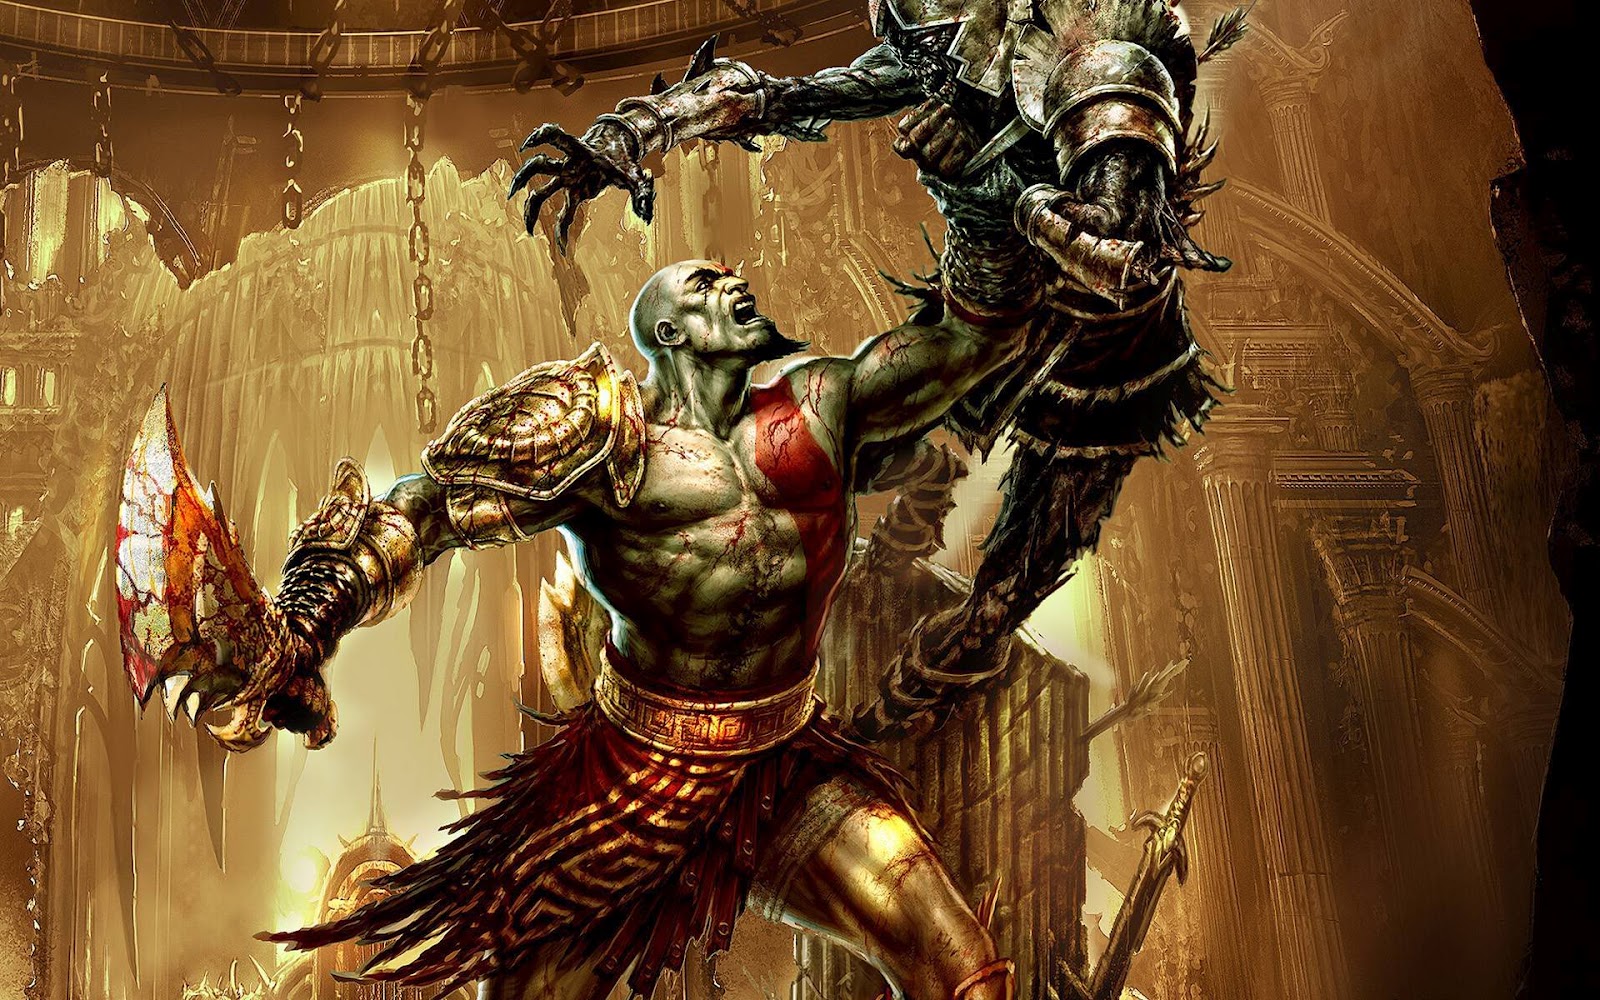
For this tutorial i used this stock image to start with,
First start of with a new document, i used 400x200 pixels for the taq.

After i made the new document, i droped in the stock image, and scaled it down to fit my taq, then i made it greyscale by pressing ctrl+shift+u. Now i have this,

Now i duplicated the stock layer, and used gaussian blur to blur it. Filter/blur/gaussianblur.

Then after i did that i hit ctrl+f a couple of times to repeat the blur filter. And now i have this,

Now i used the erasser to remove parts i did not want to look blurred. I used a small default soft brush to do this.

Now i did the same thing again, duplicated the stock layer, draged it above the blured layer and used the gaussian blur filter, only this time i did it only ones, i didnt use ctrl+f to repeat, and again i used the eraser to remove unwanted parts from the layer.

The difference is minimal, but just enough to ad a little more depth to it.
Then i made new layer and used the pentool to ad some stylish looking blood to it. If you dont like this look then you can skip this part.

i like the red bits in it kinda ats a artistic bloody feel to it
After this ive added a new layer , and i applyed the image to it. (image/apply image) This gives you a layer whit the taq merged as one on it.
Now what i did is i wend to filter/render/lightning effects. This opens a new window and here you can just play with the round thing you see drag it and scale it until the light lookg to your likings.

Now after this it might look way to bright in some places, so use the eraser to remove parts and clean it up. i removed al parts that where to bright.
And now the taq is donne
If you have any questions you can always use the comment box to ask them
Johan Schats
Geen opmerkingen:
Een reactie posten